Looking to add a splash of creativity to your holiday decorations or unique gifts? Marbled ornaments are the perfect DIY project—not only do they look stunning, but they’re also incredibly satisfying and fun to make. Using the simple technique of acrylic paint marbling, you can transform plain ornaments into vibrant works of art.
This guide will take you step by step through the process of creating your own marbled ornaments. Whether you’re a seasoned DIYer or just starting, by the end of this tutorial, you’ll have the knowledge and confidence to create eye-catching designs everyone will admire.
Understanding the Basics of Marbling
What is marbling?
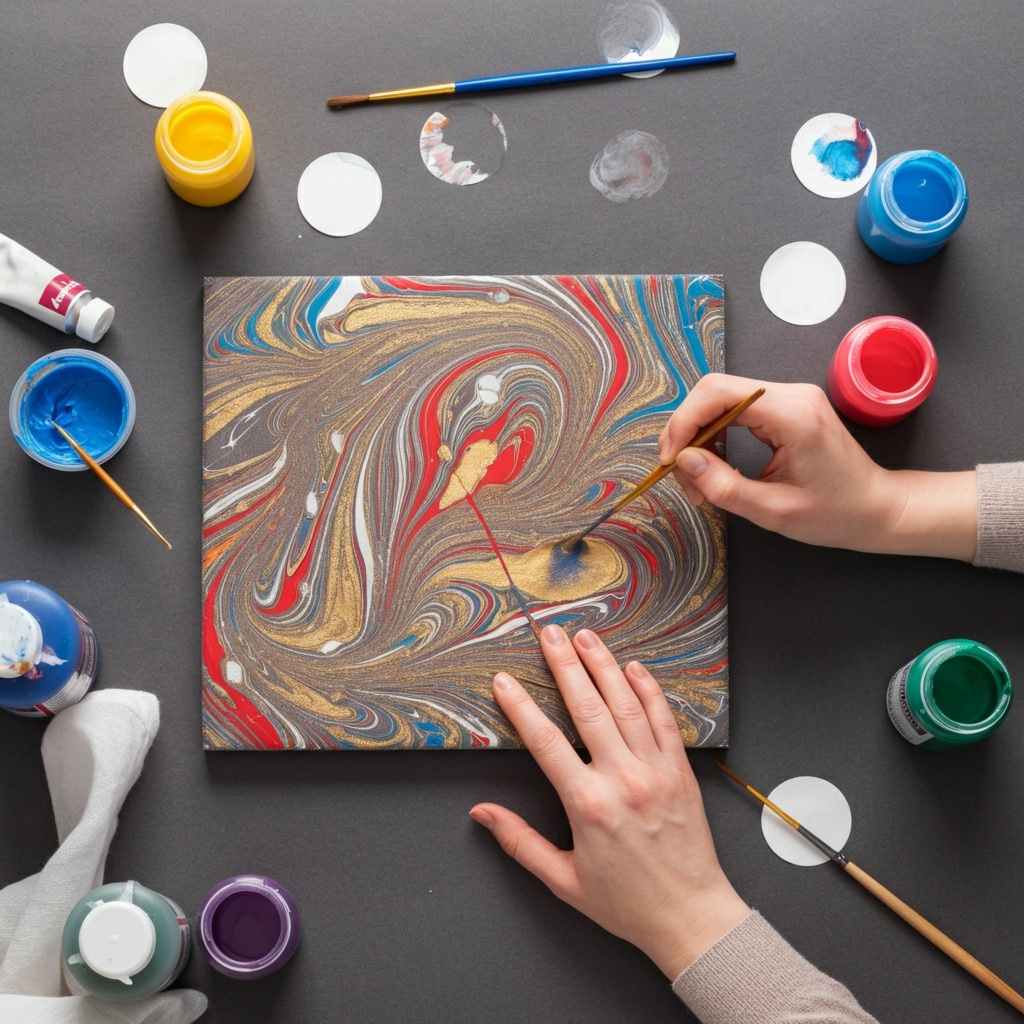
Marbling is an artistic technique used to create swirling, multi-colored patterns that resemble the look of natural marble. While traditionally done on paper, this technique translates beautifully onto three-dimensional surfaces like ornaments. It’s a simple but versatile method for achieving high-impact visual results.
A brief history of marbling techniques
Marbling has been around for centuries, with origins in ancient Japan (Suminagashi) and Turkey (Ebru). Over time, it has evolved into a popular decorative art form across cultures and is now widely practiced in DIY and crafting communities.
Materials Needed for Marbled Ornaments
Having the right materials on hand is key to seamless marbling. Here’s a checklist of everything you’ll need:
Materials
- Acrylic paints (a variety of colors)
- Water
- Clear or white ornaments (glass or plastic)
- A pourable medium like Floetrol or Mod Podge (optional, for consistency)
Tools
- Disposable cups or containers for paint mixing
- Stir sticks
- Gloves (to keep your hands clean)
- Protective surface cover (e.g., newspaper, plastic sheeting)
- Drying rack or paper towel
Pro tip: You can source most of these materials from your local craft store or online retailers like Amazon.
Step-by-Step Guide to Marbling Ornaments
Creating marbled ornaments takes a bit of preparation and patience. Follow these steps carefully for beautiful results.
Step 1. Prepare your workspace
Start by covering your work area with newspaper or a plastic sheet to protect it from paint drips. Wear gloves to prevent getting paint on your hands, as acrylic paint can be tough to remove once dried.
Step 2. Mix the paints
- Pour small amounts of paint into separate disposable cups.
- Add a small amount of water or a pouring medium to thin the paint slightly. The consistency should be similar to heavy cream—not too runny but not too thick.
- Stir each mixture thoroughly using stir sticks.
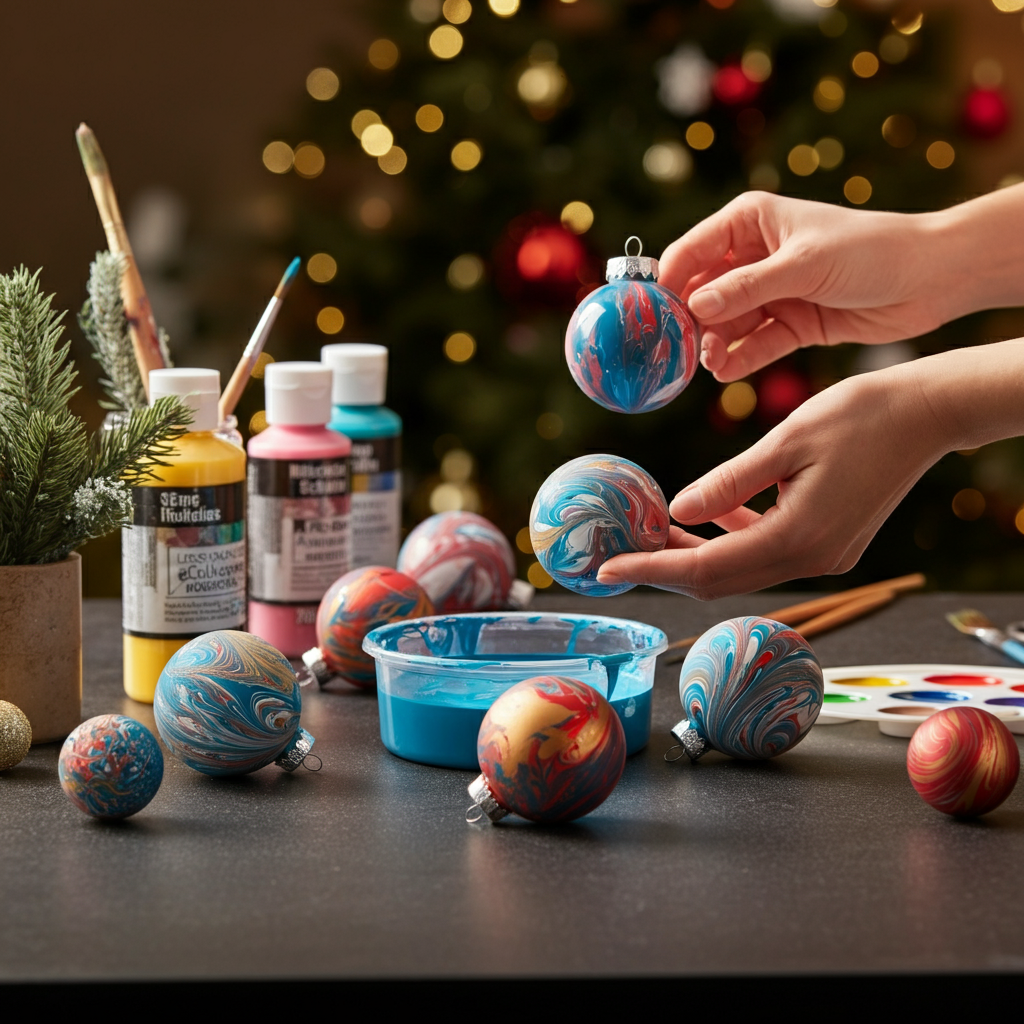
Step 3. Begin the marbling process
- Layer the Paints: Pour different paint colors one at a time into a single cup without mixing them. This technique forms layers that will create the marbled effect.
- Dip the Ornament: Hold an ornament by the top or use a skewer for accuracy. Slowly dip the ornament into the paint mixture, allowing the patterns to transfer onto the surface.
- Turn and Swirl: Gently twist and swirl the ornament to create the desired marbled effect.
- Remove Excess Paint: Lift the ornament out slowly. Allow excess paint to drip off.
Step 4. Dry and finish the ornaments
Place the dipped ornaments on a drying rack or hang them using the ornament hook. Allow them to dry completely (24 hours recommended). Once dry, consider sealing them with a clear spray varnish for durability and a glossy finish.
Tips and Tricks for Perfect Marbling
Even the simplest crafts can have a learning curve. Here are some expert tips to get flawless marbled ornaments every time:
- Achieve the right paint consistency
If the paint is too thick, it won’t swirl properly. If it’s too thin, colors will bleed. Aim for a balanced consistency.
- Experiment with patterns
Use a toothpick or skewer to swirl the paint before dipping the ornament for more intricate patterns.
- Avoid common mistakes
Don’t rush. Allow enough time for paint to drip off before moving the ornament to the drying area to avoid smudging.
Creative Ideas for Marbled Ornaments
Looking to level up your marbled ornaments? Try these creative ideas for added flair:
Color combinations
- Festive holiday vibes: Red, green, and gold
- Sleek and modern: Black, white, and silver
- Bright and bold: Neon pink, orange, and turquoise
Add embellishments
- Dust marbled ornaments with glitter while they’re still wet for extra sparkle.
- Attach ribbon or twine for a more rustic or elegant look.
People Also Ask (PAA)
Where can you buy acrylic paint?
Acrylic paints can be found at most craft stores like Michaels or Hobby Lobby. Online retailers such as Amazon also offer a wide selection.
What kind of paint do you use for marbling?
Acrylic paint is the go-to choice for marbling. Its versatility and vibrant colors make it perfect for this project.
Can you marble on paper?
Yes, marbling works wonderfully on paper! It’s a popular choice for creating custom stationery and gift wrap.
Troubleshooting Common Issues
Why is my paint not marbling?
If your paint isn’t marbling properly, it might be too thick. Add more water or a pouring medium to thin it.
How to fix smudged ornaments?
Use rubbing alcohol to gently wipe off the smudged paint and start again. Make sure to allow proper drying time between layers.
Bring Your Marbled Creations to Life
Congratulations! You’re now equipped with all the knowledge you need to make stunning marbled ornaments with acrylic paint. Whether you’re crafting for the holidays, a special occasion, or just for fun, this project lets you express your creativity while producing something unique and beautiful.
Grab your supplies, put on some music, and enjoy the process. And if you need more inspiration or tutorials, be sure to bookmark our blog for future projects. Share your creations with us on social media using #MyMarbledMasterpiece—we’d love to see your art!